Honda CB750 Sandcast

Restoration of Sandcast #1629

Sam · 42 · 31998

Sam

  • Administrator
  • Sr. Member
  • *****
    • Posts: 397
    • View Profile
Thanks! I am happy so far except with the zinc plating. It is strong, but I need to practice my polishing!  ;D
Ujeni Motors
Sandcast #410
Sandcast #538 Watch the restoration!
Sandcast #6592 All original daily driver.
Diecast #16608


UK Pete

  • Sr. Member
  • ****
    • Posts: 337
    • View Profile

Sam

  • Administrator
  • Sr. Member
  • *****
    • Posts: 397
    • View Profile
On to the clutch...

New springs, steel plates and friction plates:


All done!


That didn't take long!

Next...priming the tank and frame!
Ujeni Motors
Sandcast #410
Sandcast #538 Watch the restoration!
Sandcast #6592 All original daily driver.
Diecast #16608


UK Pete

  • Sr. Member
  • ****
    • Posts: 337
    • View Profile
Just out of interest why did you paint the inside if the engine, had the factory coating been removed?
pete


Sam

  • Administrator
  • Sr. Member
  • *****
    • Posts: 397
    • View Profile
The factory coating was long gone. Especially after beed blasting it!

I spoke with a sandcast expert who coats the insides of all of his engines with Glyptal. It seals the inside of the engine (sandcast engines are known to have pores from what I am told) and it quickens the flow of oil through the engine. I did my own research and found that it is a very highly respected product that a lot of restorers use. After applying it to #1629, I can see why; I'll use it on every engine I build from now on!

Honda used their own engine sealer back in the day of course, so I don't consider it incorrect for this engine to be sealed.
Ujeni Motors
Sandcast #410
Sandcast #538 Watch the restoration!
Sandcast #6592 All original daily driver.
Diecast #16608


Sam

  • Administrator
  • Sr. Member
  • *****
    • Posts: 397
    • View Profile
As I mentioned earlier, I had to track down a correct frame and do some welding to get it looking great again. After having it blasted I needed to get it primed as quickly as possible (I live next to the ocean which is murder on bare metal!). I use an epoxy primer to fully seal the frame properly. I'll be wet-sanding the epoxy primer down before the next coat, so I was able to apply this coat in my driveway (not so for any coats after this!). The epoxy primer went on really well. Strong stuff!


I found a wrinkle tank that had been repainted (poorly) and had a bit of surface rust on the inside. The good news was that it had no leaks or dents and was pretty cheap! I blasted the tank and found that the emblem brackets were gone. Wasn't too hard to fabricate new ones. The rust on the inside of the tank was trickier. I have coated the inside of tanks before, but I have never been fully satisfied with the results. Knowing the importance of getting this tank right, I brought it to a radiator shop. The used their acid tanks and a specific tank liner that I really like (made by POR15) and it came out beautiful! Unlike other tank liners out there, POR15's liner is silver; looks like new!


(ignore the brown shadow in that image above...its not rust, just the result of using the flash in a dark garage!)

I then epoxy primed the tank. Turned out great! Here they are together:


Like the frame, the tank will be wet sanded before painting any more coats.

I'll come back to these and several other parts that need paint, but for now I can sleep better knowing they won't rust!

Next...priming the plastic parts!
Ujeni Motors
Sandcast #410
Sandcast #538 Watch the restoration!
Sandcast #6592 All original daily driver.
Diecast #16608


UK Pete

  • Sr. Member
  • ****
    • Posts: 337
    • View Profile
Great progress sam, does the epoxy primer sand down easy, i see your ladder is making itself useful again, it is holiday season for me i have been spending alot of time in my motorhome so have not had the chance to do any work on my bikes, but watching your progress gives me the urge to get on with my frame, and engine
pete


Sam

  • Administrator
  • Sr. Member
  • *****
    • Posts: 397
    • View Profile
Yeah, the epoxy primer sands down just like any other paint. I've used it on many restorations. For example, I restored a 1988 Honda Africa Twin and epoxied the tank while I used normal primer elsewhere:


Then paint and clear:


Great stuff!

Ujeni Motors
Sandcast #410
Sandcast #538 Watch the restoration!
Sandcast #6592 All original daily driver.
Diecast #16608


Sam

  • Administrator
  • Sr. Member
  • *****
    • Posts: 397
    • View Profile
A quick update. I've painted the frame and many of the other black parts. I worked with my paint mixer and created a custom formula to emulate the "semi-gloss" that the frame and many parts originally had. A slightly blurry pic after I painted the frame in my garage:


Next, I (finally) finished polishing the engine parts and got the last bit of the engine completed. I'll likely do a tad bit of touchup on the clear coat at some point, but it is looking pretty good now:


Up next: putting the engine in the frame and "yellow-passivating" the spoke nipples!
Ujeni Motors
Sandcast #410
Sandcast #538 Watch the restoration!
Sandcast #6592 All original daily driver.
Diecast #16608


UK Pete

  • Sr. Member
  • ****
    • Posts: 337
    • View Profile
Sam that looks fantastic fella, the  engine could go on a stand and sit in your living room to be admired ha ha
I am working on my frame at the moment, i have just welded a side stand bracket on, and will be shot blasting it soon ,my mate has given me some chassis black paint which looks quite similar to the paint i found under the silver sticker on the head stock so i will give that a go
pete


Sam

  • Administrator
  • Sr. Member
  • *****
    • Posts: 397
    • View Profile
The engine is in the frame! Went far smoother than in previous builds. For inspiration, I did it the same way that it was done in 1969:


Here's the sequence:

1. Set up some books under a few Mexican blankets:


2. Set up the engine on its side:


3. Prep the frame with water pipe insulation to avoid scratches:


4. Carefully lower the frame onto the engine, secure it, tip it back up and admire:


Ok, maybe that's not exactly how they did it back in 1969  ;D
Ujeni Motors
Sandcast #410
Sandcast #538 Watch the restoration!
Sandcast #6592 All original daily driver.
Diecast #16608


Sam

  • Administrator
  • Sr. Member
  • *****
    • Posts: 397
    • View Profile
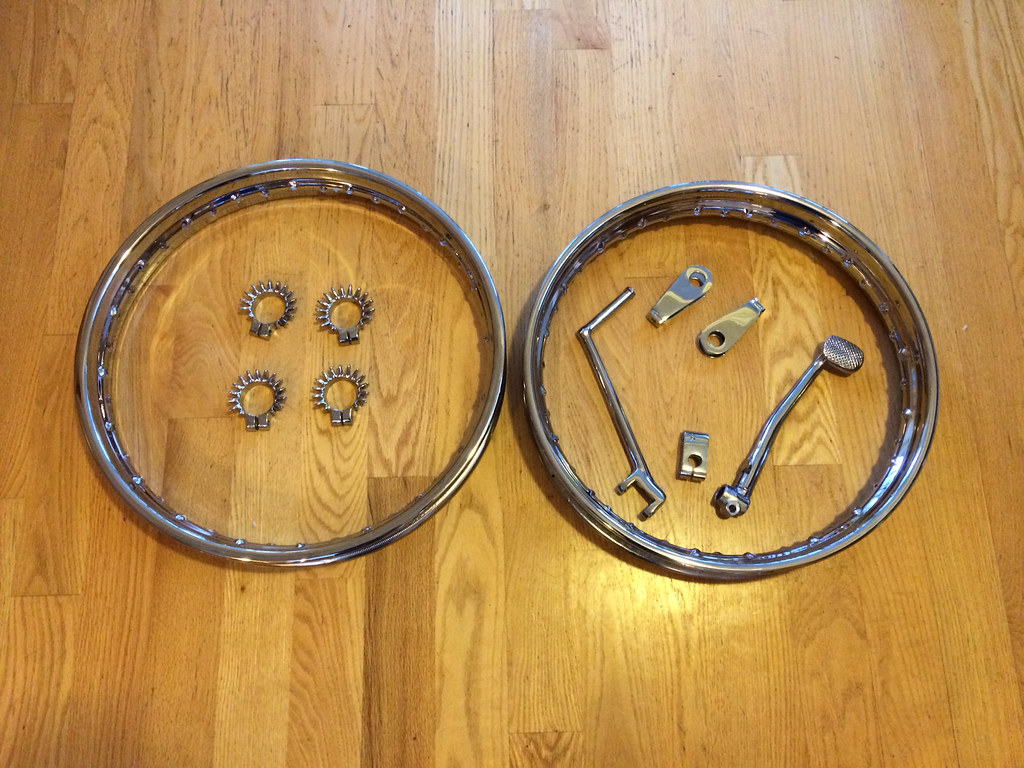
Lots of progress! First off, the wheels. Polished and sealed the hubs and then had the rims rechromed:


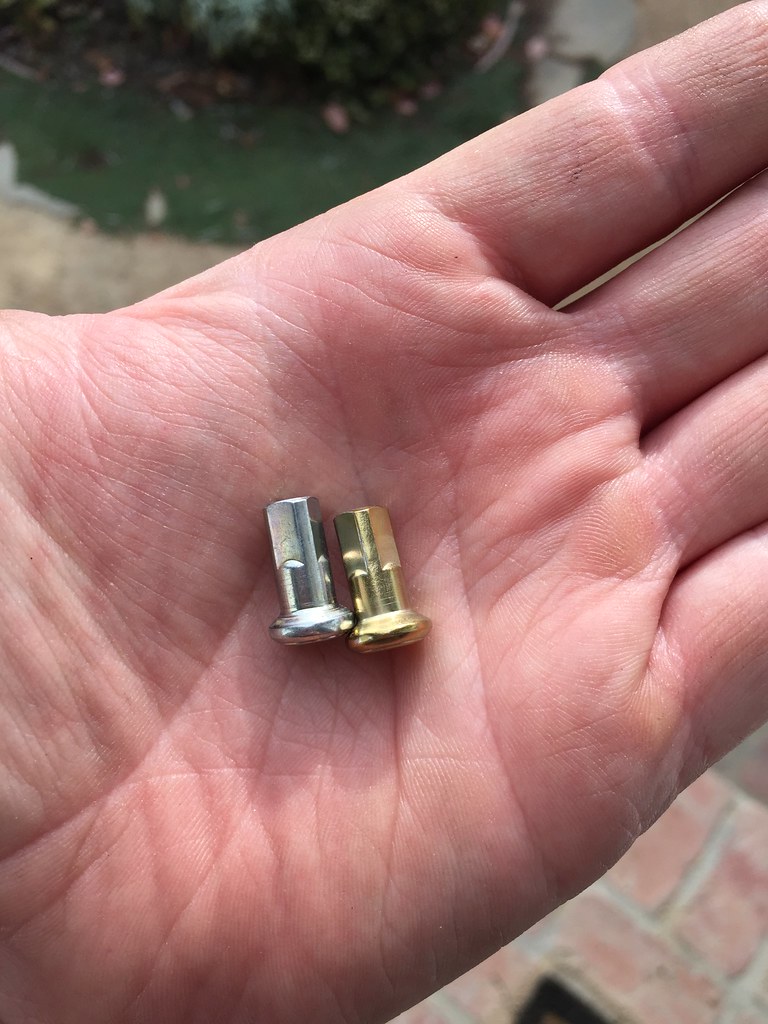
Then figured out how to add the yellow passivate to the zinc spoke nipples. Here's a before and after:
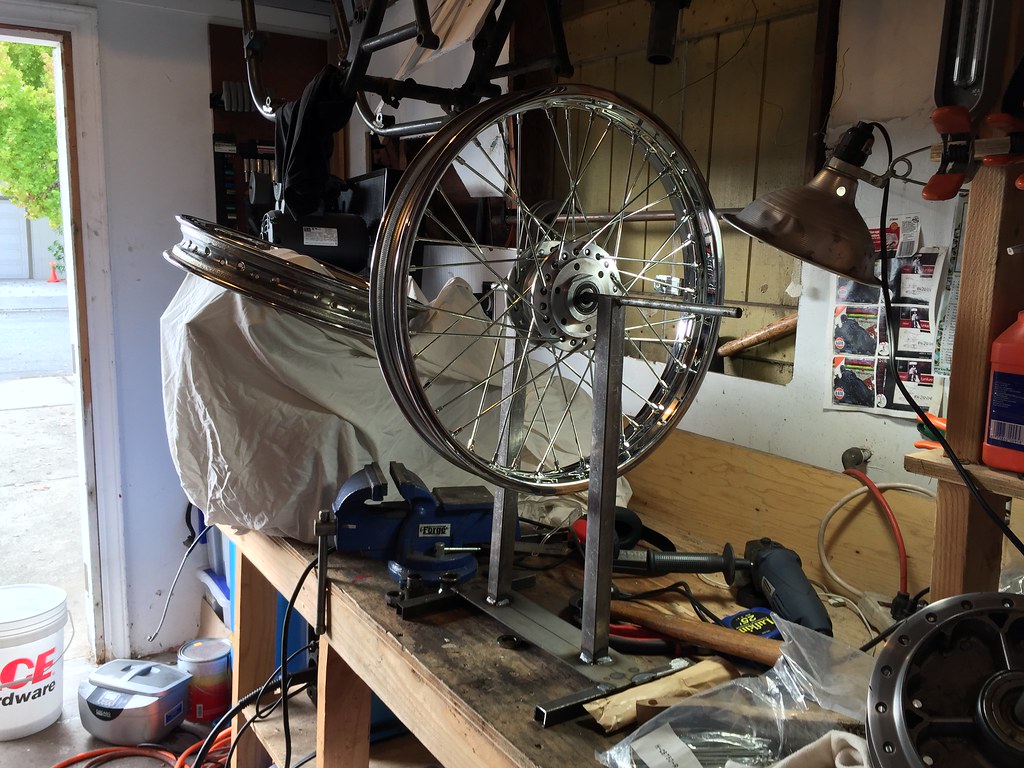


Wheel truing:


Decided to go with the dunlop set of tires from Yamiya. Not cheap, but they are the most accurate I could fine. Look nice:
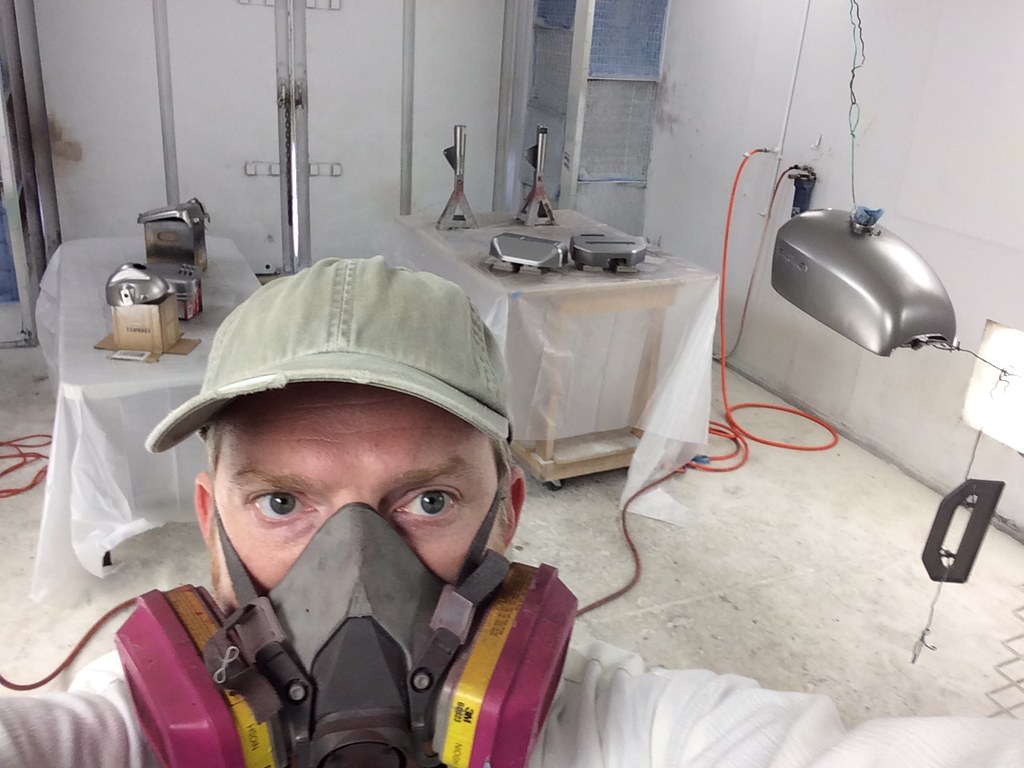


Next up, paint!!

Paint is the toughest part; so many steps that can go wrong and ruin everything! I've painted several bikes now, so I thought, why not a sandcast?!  ;D

After many hours of prep work and priming (prep really is 80% of it), I was in the paint booth putting the metallic basecoat on:


When I bought this bike it was in horrible shape (see the beginning of this thread). The original airbox was broken and had terrible black paint on it...but I was able to see candy ruby red beneath the black paint. I figured it should remain the same color  ;D

It is impossible to get the right color in a photo...especially under artificial light, but here are a few pics:


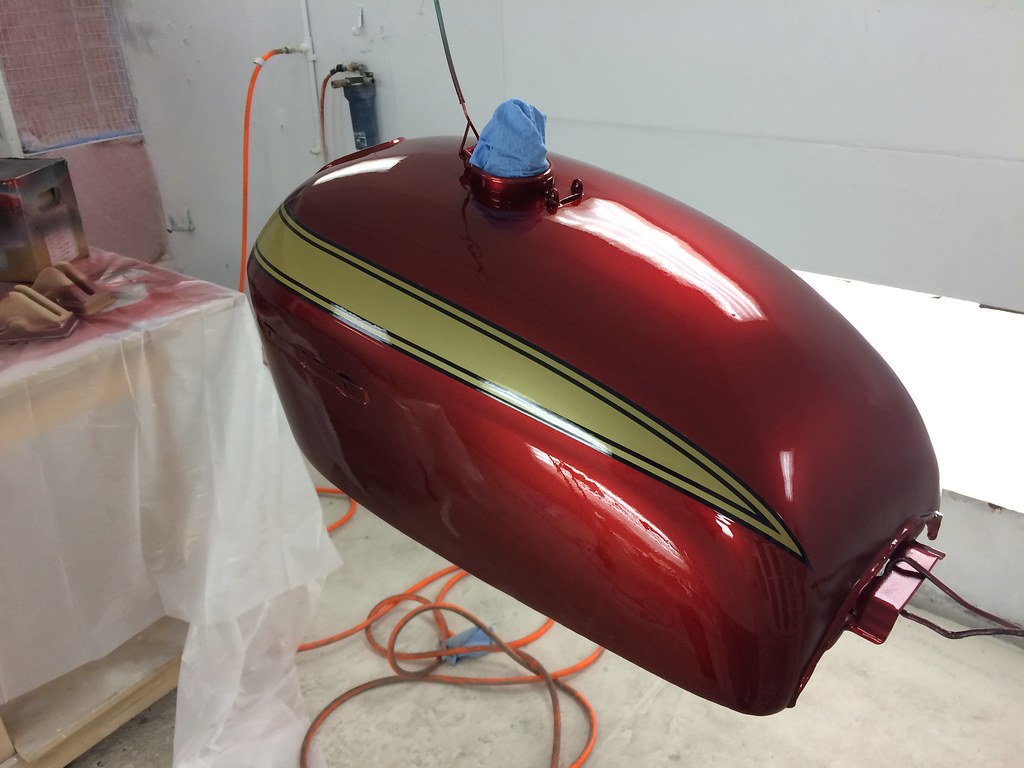
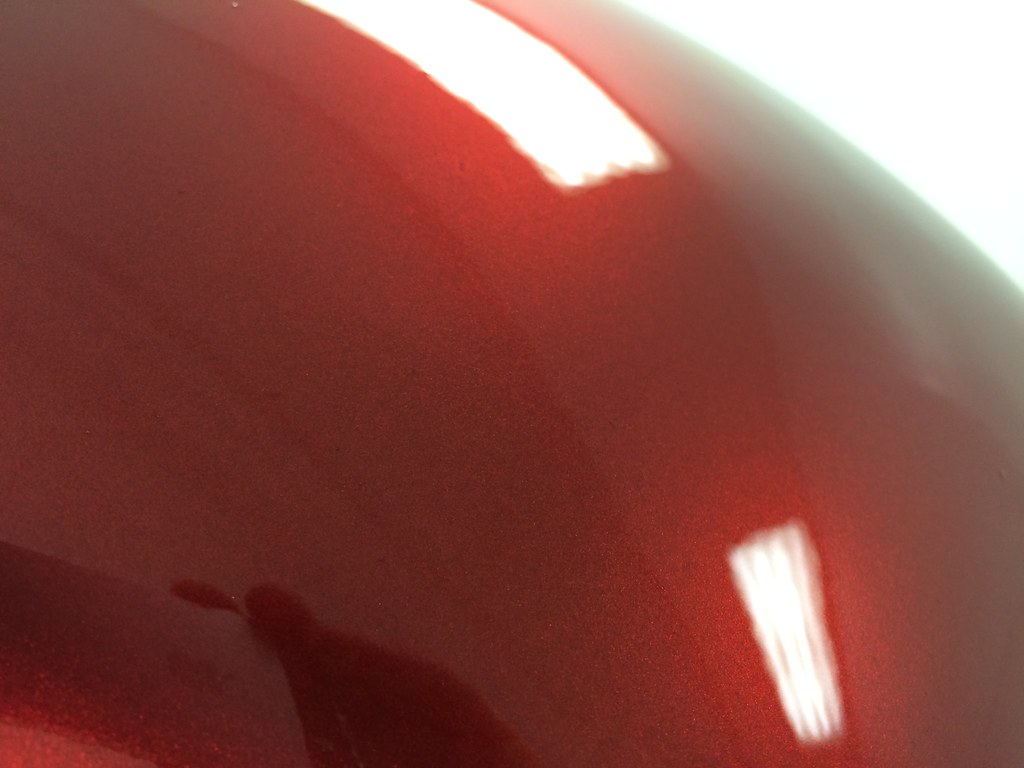
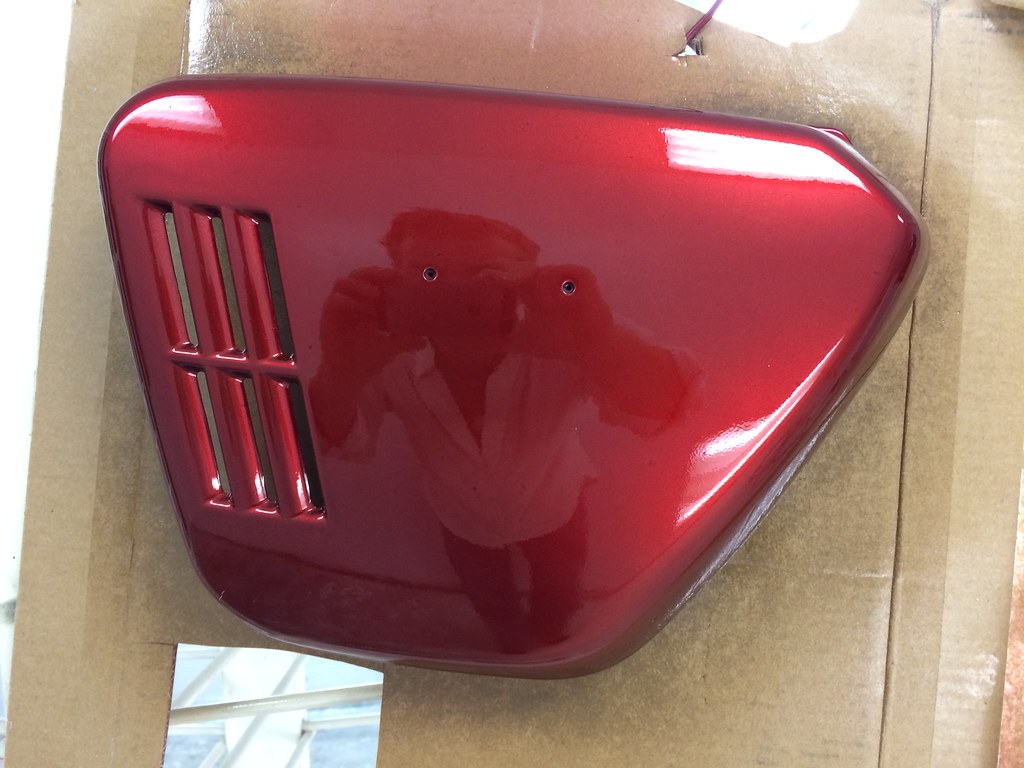
I'm very happy with the paint! Gotta love that candy finish huh?!

Finally, I took a rainy day to finish the gauges:


The gauge faces and jewels are original. Unfortunately, the flasher jewel appears to have lost its orange coloring. Should I replace it? Also, I found instructions on this forum to reset the odometer. I've never done it, should I try?
Ujeni Motors
Sandcast #410
Sandcast #538 Watch the restoration!
Sandcast #6592 All original daily driver.
Diecast #16608


UK Pete

  • Sr. Member
  • ****
    • Posts: 337
    • View Profile
I have huge respect for people who undertake as much of the work themselves , candy paint can be very tricky but it seems like you have cracked it ujeni , the wheels look amazing, did you dip the zinc nipples in gold passivate for 20 seconds? to get that colour
I would definitely replace that jewel if i were you, every thing else you have done is perfect the jewel will always bug you if you dont do it now
pete