My machinist was able to get the screw out of my Alternator Cover without a problem and no damage!

Whew! So, on to some cleanup and to try and see what lay under what was left of some of the original clear coat. I was hoping from that I could finally set a direction on how I would finish out my aluminum engine components.
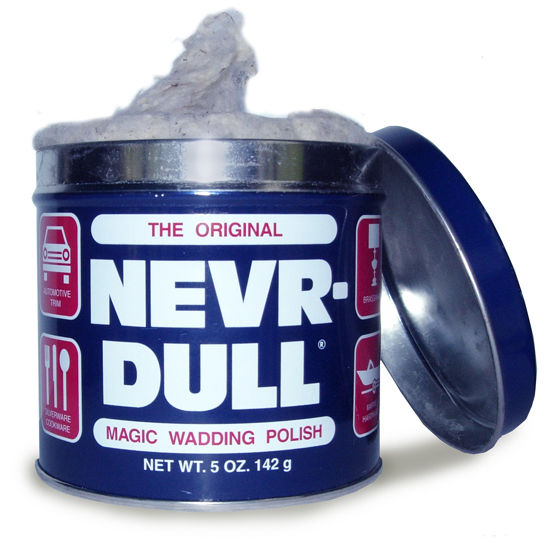
First I de-greased, washed the cover and cleaned it up a bit with Never Dull. I chose never dull as it's a corrosion remover and my thinking was it may not polish out the original buffing lines from the factory. (wishful thinking?) Anyway, here's what it looked like after cleanup. Still a good bit of clear to the left of the boss for the stator screw.
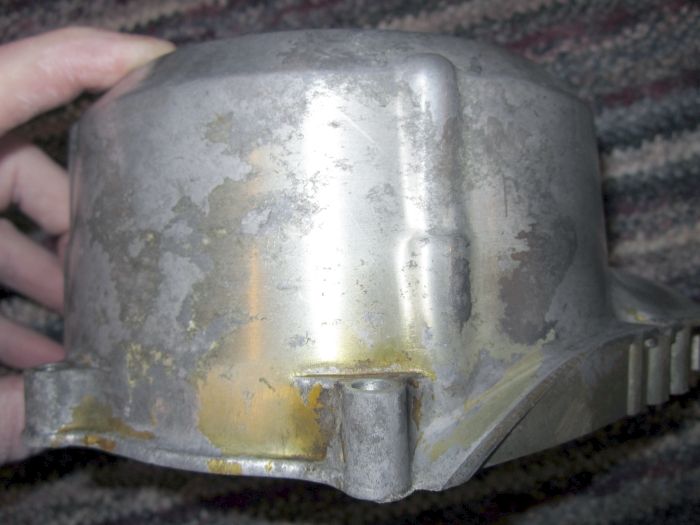
Another shot showing clear in a non finished or visible area wen installed.
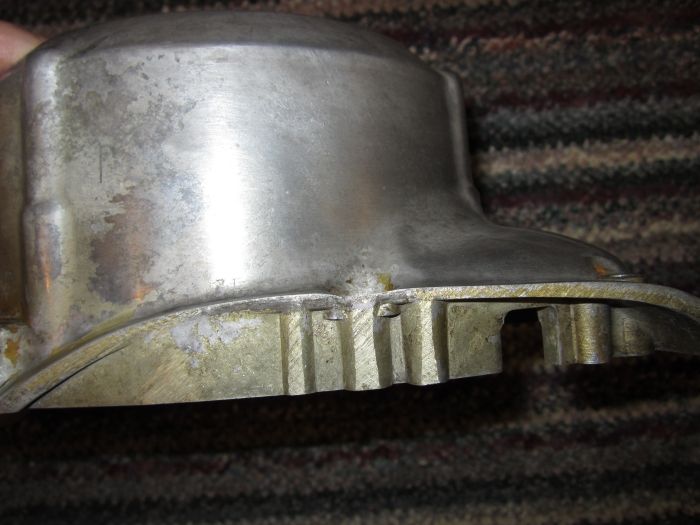
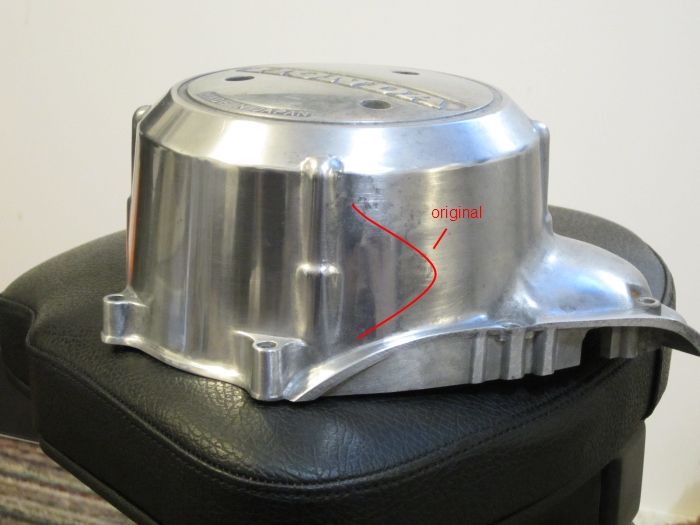
This shows the clear coat removed. Again, to the left of the stator screw boss you can see where I have now removed the clear coat. My objective was to match that area. I sanded to the right of the boss with 1000 and then 2000 grit wet sandpaper. It seemed to give me the lines I was looking for but appeared more brushed, duller than the patch that was under the original clear coat. Again, I just used Never Dull as it's non abrasive (I think) and gently polished the area until I got a close match. (right of stator screw boss) The sanding lines still show through and match the untouched portion of the cover pretty closely. I cleaned it with some metal prep to ensure it would retain the same appearance prior to applying clear coat.
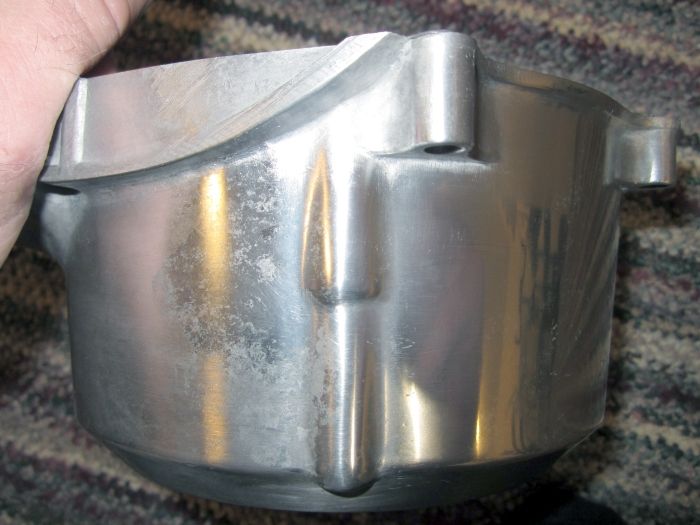
This is the 'from 2 feet shot". I think it is what I'm looking for. SO, now that I have my technique down it's time to remove the bad pits, scratches and get these pieces finished!

I guess slow progress is better than none!
Just cotton wadding and some pretty smelly, oily stuff.

